How To Braid Your Own Hair: 8 Expert Tutorials For Different Types Of Braids
Of all the at-home hairstyling ventures (trimming, blow-drying, and the like), braiding your own hair can be especially tough to conquer. Not only does it take utter precision and dexterity to keep the braids snug and even, but depending on the look you're trying to achieve, you might need to view your head at different angles—without eyes in the back of your skull (or, you know, handheld mirror skills), this makes things difficult.
No fear: Ahead, you'll find expert tutorials for a variety of braids, with tips to help keep them immaculate.
Three-strand braid
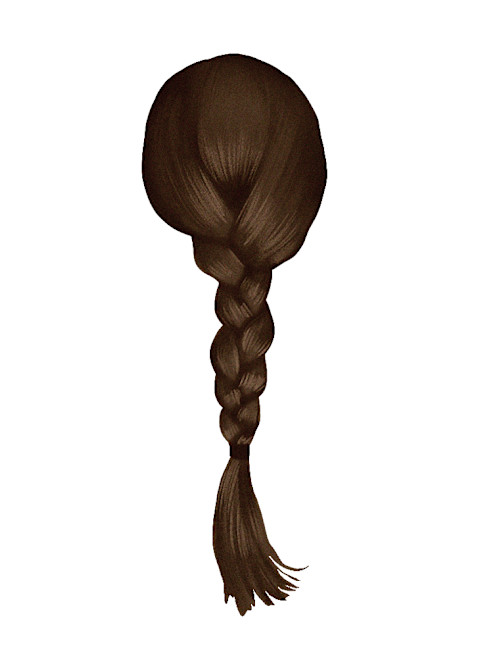
The three-strand braid is exactly how it sounds: You're weaving three strands together to create the plait. Here's a tutorial from hairstylist Faith Huffnagle, director of education at Prose:
- Grab your hair into a low ponytail (or pigtails) and split into three even sections.
- Cross the right strand over and into the middle.
- Next, cross the left strand over and into the middle.
- Repeat crossing left and right strands over the middle, all the way down until you reach the end of your hair. Secure with an elastic if needed.
Fishtail braid
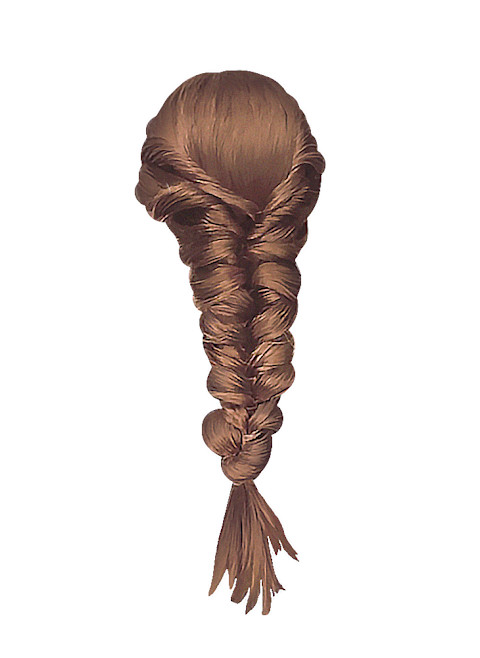
A fishtail braid resembles the skeleton of a fish's tail—hence, the moniker. And unlike the three-strand braid, you'll separate the hair into two sections only. Follow the below:
- Gather the hair into a ponytail and separate it into two, even pieces.
- While holding both pieces, take a small portion of hair from the outside of one section and cross it over the center into the opposite hand.
- Then take another small portion of hair from the outside of the opposite section; cross it over the center and into the opposite hand. "The smaller the sections you pull, the more the finished look will resemble the ribs of a fishbone," says Huffnagle.
- Repeat all the way down until you reach the end of your hair, securing with an elastic if needed.
Box braids
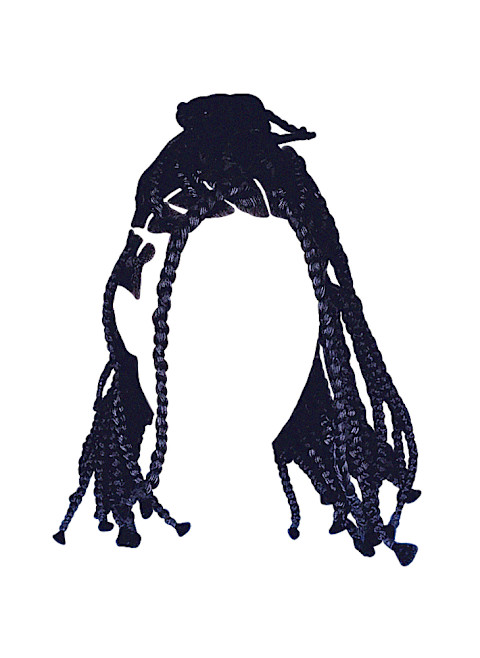
For box braids, you'll need braiding hair (celebrity hairstylist Annagjid "Kee" Taylor recommends kanekalon braiding hair, like this option, as it lasts longer on natural hair and appears less wiry). "You need a good slick gel," she adds, to provide hold and lay down flyaways. Finally, you may want an additional hand mirror: Says Michelle O'Connor, texture specialist and artistic director at Matrix, "The idea of box braids is to have your hair sectioned in mini box-shaped partings; therefore, doing them on yourself will require seeing your head from all angles."
You won't need any rubber bands for this tutorial, as Taylor recommends skipping them if you can: "Rubber bands can cause breakage and will pop really fast," she says, especially if they're too tight on the delicate strands. When you're ready, follow these steps:
- First, says Taylor, take your braiding hair and separate it into two pieces, one side larger than the other.
- Loop the braiding hair around the first section of the natural hair you want to braid, and you should have three legs: the two split sections of braiding hair, and one section of your natural hair in the middle.
- Start braiding the three legs together, weaving in more hair from the larger extension once you reach the end of your natural hair.
- Secure with an elastic if needed, and repeat these steps on each section of parted hair.
Two-strand twists
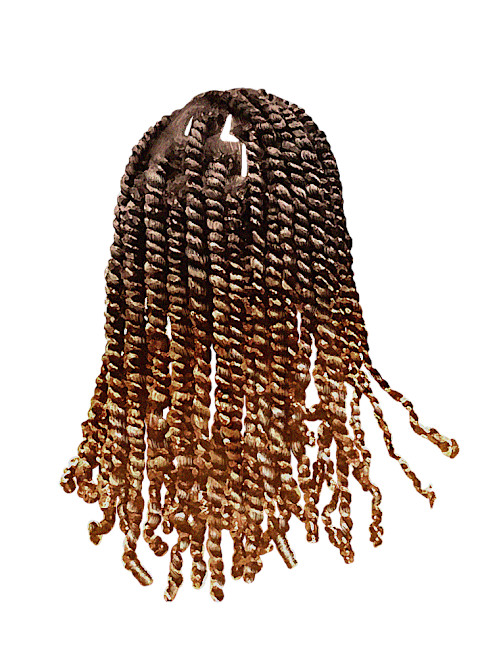
Typically, twists are worn for a few days, then unraveled to reveal the impression (called a twist-out). "Doing them on damp hair will create a stronger impression in the hair," says O'Connor, as will twisting smaller sections of hair.
- First, part the hair for each twist. (As a general rule, the smaller the sections, the more definition you'll have).
- Taylor recommends saturating each section of hair with a mousse or curl cream, then divide your first section into two strands.
- Twist the two strands of hair together until you reach the end of your hair. Secure with an elastic, or curl the ends with your finger to keep them from unraveling.
- Repeat on the other sections of hair until you have a number of two-strand twists.
- If you do decide to unravel your strands into a twist-out after a few days, O'Connor recommends retwisting at night "to ensure sustained definition."
Flat twists
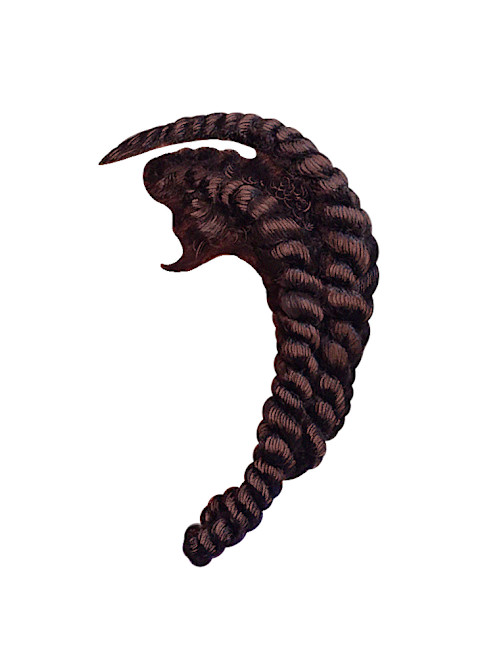
Flat twists are very similar to two-strand twists—they're just flatter on the scalp and typically yield less volume. You're still twisting two strands of hair together, but you're feeding in more hair from the scalp as you go along (that's what helps the twists lie flat). "Essentially like a cornrow," says Taylor, but you're using two strands instead of three.
- First, part the hair for each twist. Again, the smaller the sections, the more definition you'll have.
- Taylor recommends saturating each section of hair with a mousse or curl cream. Start at the hairline, dividing the sections into two strands.
- Twist the two strands of hair together, feeding in more strands of hair from your parted section as you go along. Secure with an elastic if needed, or simply curl the ends to prevent them from unraveling.
- Repeat on the other sections of hair.
French braid
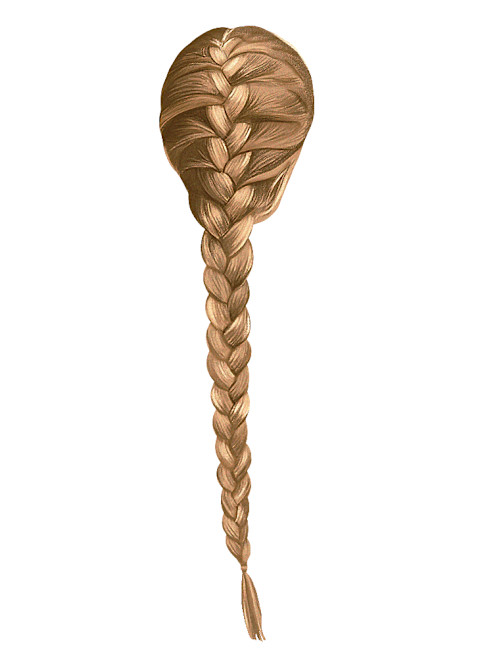
You can always create two plaits if you so choose, but for the sake of this article, we'll explain how to do one French braid down the back of your hair:
- Grab a section of hair from the crown of your head and separate it into three strands.
- Begin a three-strand braid with that section, but this time cross over the middle strand (as opposed to under, which would create a Dutch braid; you'll see later on).
- Once you've started a regular braid, feed a new section of hair from either the left or right into an outside strand before crossing it over.
- Cross your new, larger strand over the middle strand, then pull another clean section from the opposite side and feed into the other outside strand.
- Cross that larger strand over the middle strand.
- Repeat this for every section, adding to the outer pieces and crossing over the middle until you reach the end of your hair.
Dutch braid
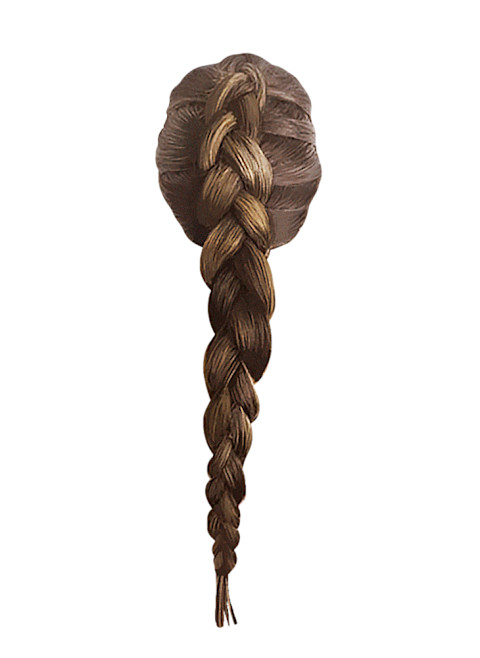
Think of a Dutch braid as an inverted French braid (in fact, some people call this style the "reverse braid"), since you're weaving the hair underneath the sections, as opposed to over. Otherwise, as Huffnagle shares in her tutorial below, it's pretty similar to a French:
- Take a small section from your hairline (or part) and separate it into three strands.
- Begin a three-strand braid, but this time cross the hair under the middle strand.
- Once you've started a three-strand braid, feed a new section of hair from either the left or right side into an outside strand.
- Cross this larger strand under the middle strand, then pull another section from the opposite side and feed it into the other outside strand, again weaving it under the middle strand.
- Repeat this for every section, adding to the outer piece and braiding under the middle until you reach the end of your hair.
Cornrows
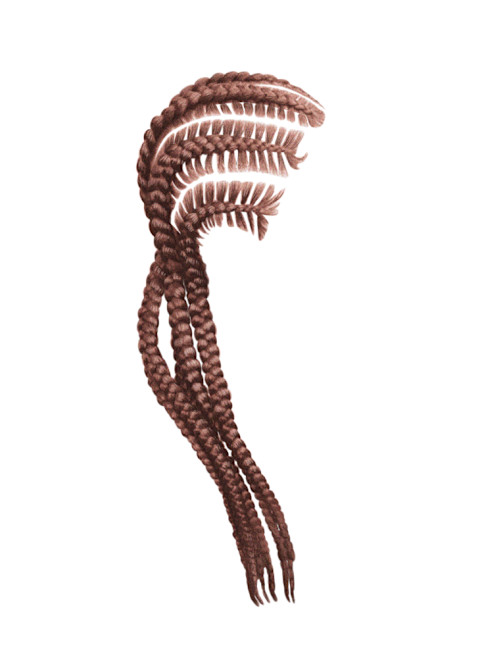
"If you're familiar with the Dutch braid, the process for cornrows is somewhat similar," says Taylor, as you're crossing underneath sections to achieve a raised style. The main difference is, cornrows are woven tightly and closer to the scalp, while Dutch braids are typically looser.
"If you're new to this, I'd recommend sticking with the traditional cornrow style, which runs from the front of the scalp back in a straight line," Taylor adds. "Once you're comfortable with that, you can start to play with designs and be more creative."
- After mapping out your partings, separate your first section of hair into three equal strands. "Larger sections will mean larger cornrows, and vice versa," Taylor notes.
- Begin a three-strand braid, remembering to cross under the middle strand.
- Feed in a new section of hair from either the left or the right side into the braid, crossing it under. Make sure to add an even amount of hair each time, Taylor notes, in order to keep the cornrows the same size.
- "Once you've passed the scalp, you can continue to [three-strand braid] as normal and curl the ends around your finger to prevent them from unraveling," she explains. Or you can always use an elastic if needed.
Braiding best practices.
Here, you'll find tips for both prep and aftercare:
- Stay consistent with your parting sizes: By creating even sections throughout, you'll ensure the braids stay the same size.
- Always detangle before braiding: To avoid snarls and breakage, you'll want to make sure your hair is properly detangled. "On natural hair, you also may need to detangle the hair as you braid," says Taylor.
- For straighter textures, Day 2 hair is best: Huffnagle says you may want to avoid freshly washed hair if you have a straighter hair texture. "Aim to braid on Day 2 or 3 hair for longer-lasting results," she notes. Or, you can apply pomades or pastes to add some grip to freshly washed strands.
- For curlier and kinkier textures, freshly washed hair is best: Since you should always detangle your hair before braiding, those with curls will want to braid on hair that's freshly washed (since you typically detangle curls when they're wet). And if you're creating a twist-out on natural hair, you may even want to start when the hair is damp to achieve more definition.
- Keep the hair and scalp moisturized: "If you've braided your hair and intend to keep these in for a couple of weeks, you'll still want to maintain a cleansing and hydration routine," says O’Connor. Witch hazel makes a great cleansing option (if your skin can tolerate it), and coconut oil and jojoba oil are stellar hair hydrators.
- Protect them while you sleep: "Prolong the life of braids or twists by keeping them neater," O'Connor adds. She notes wrapping the hair in a scarf, sleeping in a bonnet, or sleeping on a silk or satin pillowcase can help you avoid friction on the hair.
The takeaway.
Braiding your own hair takes a bit of skill, but it's not impossible to expertly style them at home. Read up on these tutorials, but the best way to learn is to attempt on your own hair. As experts will tell you: Practice and patience are key.
