How To Get Glass Skin: A Step-By-Step Guide For A Dewy, Poreless-Looking Glow

In this day and age, it's all about the dew. We're talking glowy, luminescent skin that resembles a pane of crystal glass, otherwise known as the ever-idealized "glass skin."
But how do you get glass skin, making sure your glow looks transparent, not oily? Let's break down the basics.
First, what is glass skin?
The concept of glass skin emerged out of K-beauty (aka Korean beauty). It's perhaps skin care and makeup's most symbiotic relationship, as layering hydrating serums is just as (if not more) important than a dewy highlight. The final look should yield smooth, pillowy, poreless-looking skin rather than caked-on makeup. Like a dewdrop, your skin should look plump, full of moisture, and lit from within.
How to get glass skin: A step-by-step guide.
Glass skin is reflective but not shimmery. Luminescent but never glitzy or sparkly, and there's quite a fine line between getting the dew just right and looking, uh, sweaty. Here's how to navigate it all:
Start with a smooth canvas.
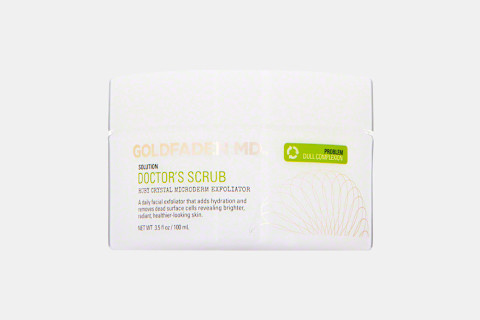
Exfoliation is the foundation of the glass skin routine. "Exfoliation keeps the skin hydrated, so it appears less lined," explains celebrity esthetician Joanna Vargas. "It also allows the products you use on the face to penetrate better."
You might even want to exfoliate the night before ("The process of achieving glass skin truly starts at night," says makeup artist Elyse Frieri, store manager at clean beauty retailer Credo), so you can wake up to smoother skin. Whether you're partial to a physical or chemical scrub, retinol serum, or glycolic acid peel, exfoliating your skin is key for achieving the glass skin look. Just be sure to follow with a rich hydrating cream or moisturizing mask (even a hyaluronic-acid-based sheet mask, if you're exfoliating day-of) to prevent dryness and keep your skin looking plump.
If you want to ensure an even cleaner canvas, makeup artist Jenny Patinkin recommends dermaplaning away peach fuzz for extra smoothness. Just once every three to four weeks is enough to achieve the smooth, reflective look you're yearning for.
Keep your products light.
Once you have a smooth canvas, it's time to prep the skin for makeup. "Glass skin is better when the emphasis is more on skin care and less on makeup," says Patinkin, so this is the time to focus on getting that lit-from-within glow.
Now is not the time for thick creams; rather, opt for light moisturizers (just don't rub it in too much; otherwise, you'll lose the texture). "Focus on protection in the form of an antioxidant serum, oil, and SPF, but it's important to limit anything too heavy," Frieri agrees.
Use serums to your advantage.
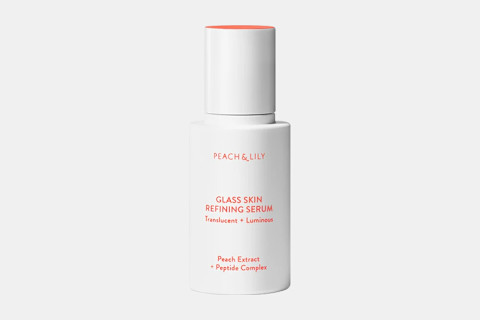
Because glass skin is technically more of a skin care regimen than a full makeup look, choosing your serums can be make-or-break. Frieri recommends tapping your serum onto the high points of the face, which helps your skin shine even before using highlighter (more on that later).
Vargas is partial to serums that offer a skin-plumping effect. "I like a hyaluronic gel serum to also make sure the skin isn't too slick for makeup," she says. Your skin will drink it all up, but it won't make your face too slippery for a touch of blush later.
Seal it all in with gua sha.
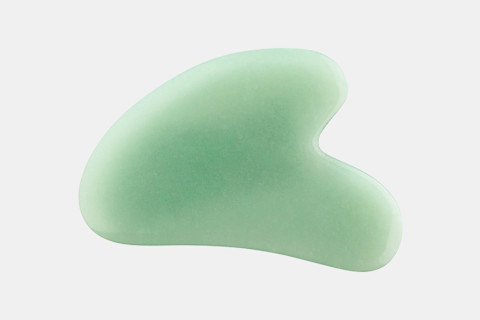
"A good facial massage while applying products is a great way to make the skin glow, increase circulation, and stimulate more collagen production," says Vargas. So while your products are setting in, feel free to up your gua sha game or give yourself a facial massage to stimulate blood flow (five to 10 minutes usually does the trick, says Frieri).
You should have enough slip to allow the tool to effortlessly glide across your skin, but be sure to stop once your products settle in; you never want to pull at the delicate skin on your face. (To see the ancient practice in action, check out our tutorial video.)
Conceal blemishes, but let your natural skin texture live.
This is important—you don't want to undo all the skin care prep by applying a heavy-duty foundation. Rather, use concealer as your base: Apply it directly to conceal any blemishes or broken capillaries, as well as any areas that may need a little more attention (usually under the eyes and around the nose). "Concealer is highly pigmented, so you're able to use just a little bit of product and avoid layering on a heavy foundation," says Frieri.
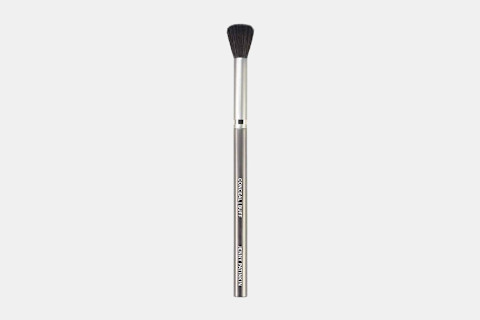
With setting powder, it's a similar adventure: Only use enough product to set the areas you've concealed. A small eye shadow brush is best to really target those certain areas. (Pro tip: Frieri recommends spritzing a favorite toner on your brush before applying powder, as a damp brush can create a smoother, more even finish.)
Stick to liquid formulas and light application.
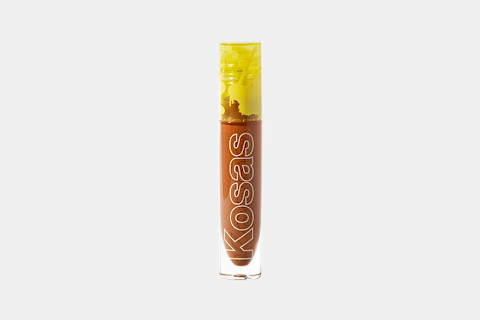
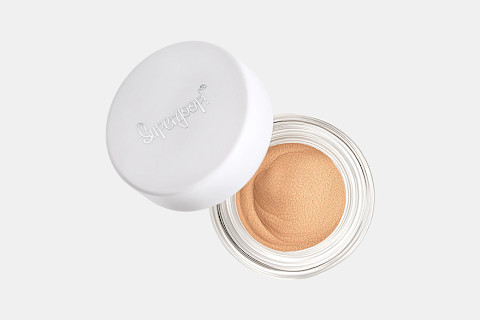
"The key to makeup application is to use creams and liquids," Patinkin notes. That's where your cream blushes, liquid highlighters, and velvety shadows come into play. With these products in particular, skip powders: "powders that can grip and look caky," says Patinkin. These formulas can mold to your skin tone (and undertones) rather than sitting on top and sweating down your face midday.
In terms of application, you want to avoid dragging a brush across the skin, says Patinkin. Use a damp makeup sponge or your fingers to pat product in. Also be sure to keep your touch light; that way, you won't disturb the skin or concealer underneath. Remember that rubbing in too much will mess with the final look—you want your skin to remain pillowy with just the right amount of shine, so let the products lay where they may.
Know your high and low points.
Think of your face as having peaks and valleys: You want to highlight the high points (aka, the spots on your face the sun would naturally hit) while leaving low points alone. You'll want to highlight your cheekbones, bridge of your nose, your brow bones, and cupid's bow (where a tap of highlighter can create the illusion of fuller lips). However, skip the T-zone—this is the key to avoiding looking too sweaty. "Shiny spots here can look like oil instead of glow," says Patinkin.
As for the low points, either leave them alone or use the conceal and set method mentioned above to even out any discoloration.
Try these products:
Key take-aways.
When in doubt, always remember your peaks and valleys: That's the key to keeping skin from looking super oily, which can turn a glass skin look from glowy to sweaty in seconds. Then all you'll need is a swipe of brow gel, a hydrating lip color (again, lightly tapping in product can give you that enviable, just-ate-a-berry-ice-pop pout), mascara (if you so choose), and you're good to go.
While achieving glass skin is a minimal makeup look, the prepping actually starts the night before with a good exfoliation routine. "Makeup is magical and transformative, but there are two things it cannot hide: texture and dimension," Frieri says.
In other words, you can't truly achieve glass skin with just makeup—it's a holistic process that starts with taking care of your skin. With an emphasis on a smooth, poreless complexion, it's no wonder glass skin has remained a top beauty ideal long past its inception. After all, healthy, youthful skin is always on-trend.

